The easy way to use CSS3 animations in Shotcut
Shotcut allows you to use HTML to create visual effects, but CSS3 animations are not supported. Instead it requires the WebVfx library and JavaScript to make your fancy effects move, but we are in 2020 and ain’t nobody got time for that. Animating with JS/jQuery has gone the way of Flash for the better.
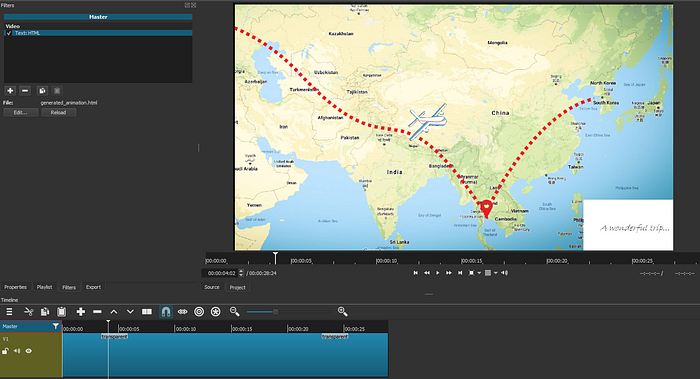
What you need
- elusien_cssanims2js.js — Elusien’s framework for animating with WebVfx
- css2elusien.js — My tool for translating the CSS3 declarations into Elusien code
- jQuery — Well, of course…
Elusien has done most of the heavy lifting with a framework in JavaScript, which resembles the CSS3 animation declarations, but it requires copying and pasting CSS and JS code around. Yet again… ain’t nobody got time for that. At least I didn’t, so I built the css2elusien.js tool, which simplifies the process.
What you do
Once your CSS animation is ready add the three JavaScript files to you page.
<script src="./css2elusien.js"></script>
<script src="./jquery.min.js"></script>
<script src="./elusien_cssanims2js.js"></script>
Add the frame rate as a custom CSS variable to body. The value should match the frame rate in Shotcut, otherwise the animation will run in a different speed once imported.
body {
  --framerate: 25;
}
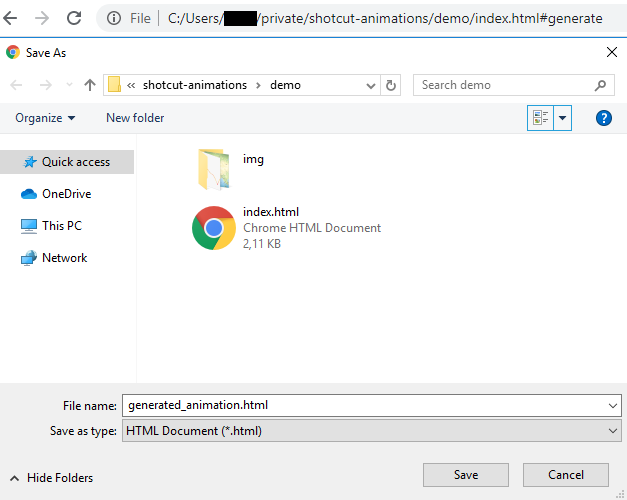
With your HTML page containing the CSS3 animation open in you browser append the hash #generate to the address in the browser's address bar and you will be prompted to download a generated HTML file. Save the file in the same folder as the original HTML file with the CSS3 animation.
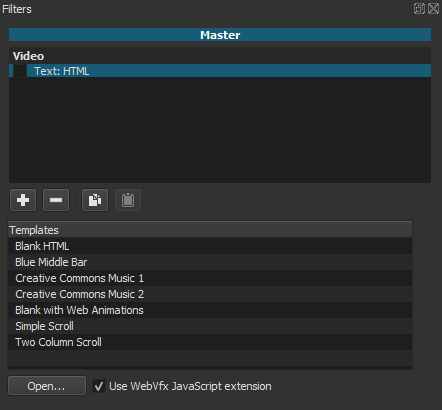
Now import the generated_animation.html into Shotcut using the Text: HTML filter. Make sure to check the “Use WebVfx JavaScript extension” option and click “Open…”.
If everything goes swimmingly you should see your animation in the preview window.


